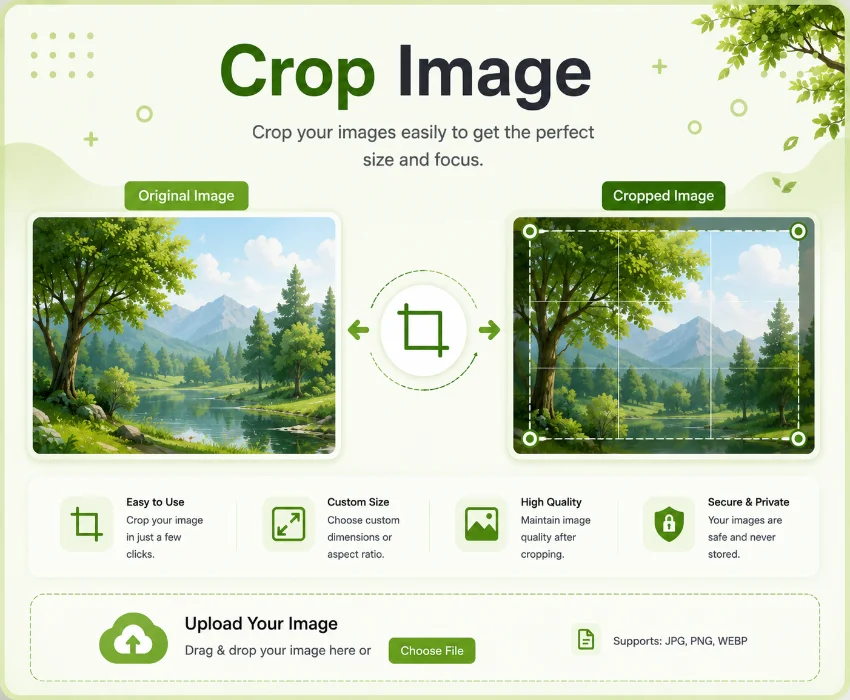
Crop Image
Crop any image online — rotate, flip, circle crop, choose format, download instantly.
JPG, PNG, WebP, GIF — any size
What Is the Crop Image Widget? A Complete Overview
The Crop Image widget is a fully browser-based tool that lets you trim, rotate, flip, and reshape any picture without installing software. Whether you need a quick square crop for Instagram, a circular profile photo, or a precise selection for a design project, this tool handles everything right inside your browser. It supports JPG, PNG, WebP, and GIF files, and once you drop an image in, a full editing panel appears with controls for aspect ratio, rotation, zoom, output format, and more. The entire process stays local nothing gets uploaded to any server, so your privacy stays intact.
Frequently Asked Questions
The tool was designed with beginners in mind. After uploading a photo, you simply drag the selection handles to choose your area, adjust settings from the toolbar above the canvas, and download the result with a single click. Below the canvas, you will find a Crop & Download button alongside Copy, Undo, and Reset Sel options, making the workflow smooth and forgiving. If you make a mistake while adjusting the selection boundaries, Undo brings back the previous crop area instantly.
The widget also displays useful metadata such as original file name, pixel dimensions, and file size right after upload. This info panel sits above the toolbar so you always know what you are working with. Combined with the real-time selection badge that shows width and height in pixels, you get complete clarity about your crop area at every step.
Crop Image Tool Feature Table
| Feature | What It Does |
|---|---|
| Upload | Click or drag-drop JPG, PNG, WebP, GIF files |
| Info Panel | Shows file name, original dimensions, file size |
| Transform | Rotate 90° left/right, flip horizontally or vertically |
| Zoom | Magnify the image up to 8× for precise selection |
| Circle Crop | Crops into a circular shape with background color fill |
| Grid Overlay | Rule-of-thirds guide lines for composition |
| Format | Output as PNG, JPG, or WebP with quality control |
| Fixed Output | Set exact width and height for the result |
| Aspect Ratios | Free, 1:1, 4:3, 16:9, 9:16, 3:2, 2:3, IG, FB, TW, YT, Pin |
| Undo / Copy | Undo last selection change, or copy result to clipboard |
Key Capabilities at a Glance
The image crop online workflow is straightforward: upload, adjust, and download. After dropping a file, the editor shows the image inside a dark canvas area. The selection rectangle appears automatically with a 16-pixel margin. You can resize it from any handle, move it by dragging the center, or draw a fresh selection by clicking an empty area and dragging. The shaded overlay outside the selection helps you visualize exactly what will be kept versus discarded.
Crop Image Online Free Step-by-Step Workflow
Upload Your Image
Click the dashed drop zone or tap Browse to select a file from your device. You can also drag any image directly onto the zone. The tool accepts JPG, PNG, WebP, and GIF files of any size. Once the file loads, the drop area updates to show the file name and a green checkmark.
Review Image Info
An info panel appears below the header showing the file name, original pixel dimensions, and file size. This gives you a quick reference before you start cropping. The original dimensions help you decide what aspect ratio to use and how much resolution you can afford to cut away.
Choose Your Aspect Ratio
The image crop online process lets you pick from Free mode or specific presets like 1:1, 4:3, 16:9, 9:16, 3:2, and 2:3. Social media buttons (IG, FB, TW, YT, Pin) give you platform-ready dimensions instantly. When you click a preset, the selection snaps to that ratio you only need to position and size it within the image boundaries.
Apply Transforms
Use the Transform buttons to rotate the entire image 90 degrees left or right. The Flip H and Flip V buttons mirror the image horizontally or vertically before you crop. These adjustments are applied to the source before cropping, so the selection area also rotates or flips along with the image. The Zoom controls let you inspect details closely click the magnifying glass buttons to zoom in up to 8× or reset to 1×.
Configure Output Settings
The image cropping tool section below the transforms lets you pick PNG, JPG, or WebP format. The quality slider activates only for JPG and WebP drag it between 10% and 100% to balance file size against visual fidelity. The Output fields let you enter a fixed width or height if you need the result at an exact pixel size. The File Name input customizes the download name, and the BG Color picker sets the fill color when using Circle Crop mode.
Fine-Tune the Selection
Drag the selection handles (eight small green squares around the rectangle) to adjust the crop area. The center of the rectangle moves the entire selection. The badge above the selection updates live with the width and height in pixels based on the original image scale. If you want a crop circle image, check the Circle option in the Tools group the output then clips to a circular shape with your chosen background color behind it.
Crop, Copy, or Download
Click the green Crop & Download button to process the image. The result appears in a preview panel below the editor showing dimensions and format. From there you can download the file or click the Copy button to put it on your clipboard. The Undo button reverts to the previous selection boundary, and Reset Sel restores the full-image selection.
Who Should Use This Crop Image Tool?
This tool works for anyone who needs to prepare images for the web, social media, or print without learning complex software. Social media managers can quickly resize photos to platform-specific ratios. Bloggers and content creators can crop image square formats for featured images or author photos. E-commerce sellers can trim product shots to consistent dimensions. Designers can extract circular profile pictures with a transparent or colored background. Even casual users who just want to crop and resize image combinations for email or messaging will find the interface intuitive.
The tool also helps photographers and editors who need to rotate or flip images before final delivery. The format switcher means you can crop a PNG, output as JPG for smaller size, then optionally compress further using linked tools. The Undo feature and real-time preview eliminate the guesswork you see exactly what the result will look like before you commit.
Best Practices for Better Crops
• Zoom in when cropping detailed areas like faces or text
• Set a custom file name before downloading to stay organized
• Use Circle mode with a matching BG color for profile pictures
• Do not crop too tightly if the image will be displayed at larger sizes
• Avoid using JPEG for images with sharp text or logos PNG preserves edges better
The crop image tool handles the full pipeline from import to export in one window. You never need to switch between multiple applications or online services. Because the processing happens entirely in your browser using the Canvas API, there are no file size limits beyond what your device can handle, and no data ever leaves your computer.
Understanding the Circle Crop Feature
The crop circle image option changes the output shape from a rectangle to a circle. When you enable the Circle checkbox, the tool draws your selection area onto a circular clip. The diameter of the circle equals the shorter side of your selection rectangle, keeping the circle fully contained within the chosen area. Any space outside the circle is filled with the BG Color you selected white by default, but you can pick any color using the color input or match it to your design background.
Circle crop mode works with all output formats. When you choose PNG or WebP, the background area around the circle is filled solid (it is not transparent because the tool actively fills the background). For JPG output, the fill color is necessary since the JPEG format does not support transparency at all. This means you get consistent, predictable results regardless of which format you pick.
The crop image widget tutorial covers everything from basic upload to advanced circle cropping with format selection. Whether you need a quick social media graphic, a circular avatar, or a precisely cropped product photo, this browser-based tool delivers professional results without the learning curve of desktop software. The combination of aspect ratio presets, real-time selection feedback, and multi-format export makes it one of the most practical image cropping tool options available online.