Image Compressor
Compress JPG, PNG, WebP images instantly in your browser — no upload to server.
Supports JPG, PNG, WebP, GIF, BMP — max 50MB
Mass Image Compressor Tutorial
Learn how to compress JPG, PNG, WebP, GIF, and BMP images directly in your browser zero uploads, zero software, zero hassle.
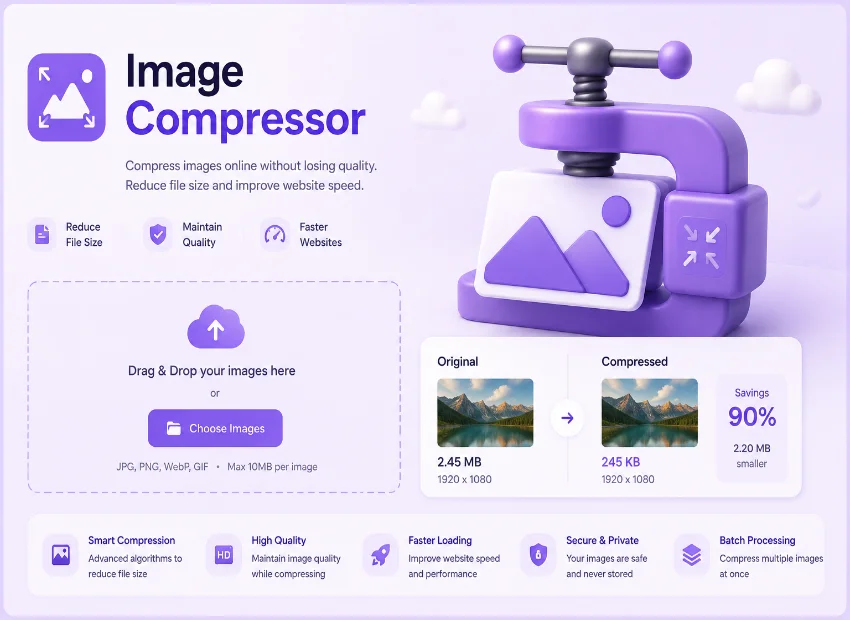
⚡ What This Image Compressor Tool Does
This browser-based utility accepts images through drag-and-drop or a standard file picker. It supports JPG, PNG, WebP, GIF, and BMP formats with a generous 50 MB limit per file. Once you load an image, the settings panel appears showing a quality slider from 1 to 100 percent and an output format selector that lets you keep the original format or convert to JPEG, PNG, or WebP. The compression engine runs entirely on your device using the HTML Canvas API, which means your files never leave your computer. This makes the tool private, instant, and free from any file size limits beyond what your browser can handle.
📋 Step by Step How to Compress an Image Online
🎚️ Choosing the Right Quality and Output Format
The quality slider gives you full control over the compression level. At 80 percent which is the default the tool removes enough data to noticeably reduce file size while keeping visual quality high for most uses. Going down to 50 percent produces smaller files with visible compression artefacts that work well for thumbnails or previews. Crank it up to 95 percent when you need maximum fidelity for printing or archiving. The output format selector adds another layer of flexibility. Keeping it at Same as Input preserves the original format, but switching to JPEG can reduce size further for photographic content. WebP often produces the smallest files among all options, especially at lower quality settings. PNG is the best choice when you need transparency or crisp edges in graphics, though PNG files tend to be larger than JPEG or WebP equivalents at comparable quality levels. An 8mb image-compressor workflow typically starts at 60-70 percent quality on a large photograph, producing a significant reduction without destroying detail.
📊 Understanding the Compression Results
After compression, the results panel shows four statistics. Original Size and Compressed display the before and after file sizes. Saved tells you how many bytes or kilobytes you reclaimed shown in green when compression worked well. The Ratio shows the percentage reduction, giving you a single number to evaluate efficiency. Below the stats, the side-by-side comparison lets you inspect both versions visually. This is where you decide whether the current quality level is acceptable. For a mass image-compressor workflow, you would apply the same settings across multiple files after verifying the result on one sample image.
🔄 Converting Formats During Compression
One of the most useful features is the ability to change the output format while compressing. If you have a BMP screenshot that is 6 MB, you can load it and set the output to JPEG at 70 percent quality the result is a compressed JPEG file that is often ninety percent smaller than the original BMP. Similarly, a large WebP image can be converted to PNG with transparency support while still applying compression. This eliminates the need for a separate conversion step. The format selector combined with the quality slider effectively turns the tool into both a compressor and a format converter. For users running an image-compressor to 2 mb pipeline, starting with JPEG output at 60 percent quality on a high-resolution photo typically lands right around the 2 MB target without additional resizing.
Frequently Asked Questions
Common questions about browser-based image compression
📱 Working with Meme Images and Social Graphics
Social media platforms and messaging apps compress images automatically, but starting with an already optimised file gives you more control over the final quality. This is where the tool becomes particularly useful for creating meme images and social graphics. An image compressor for discord workflow involves loading a screenshot or template image, setting the quality to 70-80 percent, and downloading a compressed version that uploads faster to platforms like Reddit, Twitter, or Discord. The same applies to image compressor for discord use cases where maintaining readability of text overlaid on images matters more than perfect photographic quality. The side-by-side preview helps you verify that text remains sharp and colours stay recognisable before you share. If you work with a dedicated image meme compressor, you can test various quality levels on a sample meme template, note the best setting, and apply it consistently to all future graphics.
👥 Who Should Use This Tool
📏 Targeting Specific File Sizes
Many platforms and submission forms require images under specific size limits. An image-compressor to 256kb workflow is common for passport photos, ID uploads, and forum avatars. Start with a quality setting around 50-60 percent and check the result. If the compressed file is still above 256 KB, lower the quality further or switch to JPEG output. For larger targets like 2 MB, start at 70-80 percent quality and adjust down if needed. The tool gives you immediate feedback through the stats panel, so you can fine-tune the quality slider and re-compress until you hit your target. A dedicated 2mb image compressor approach typically involves keeping JPEG output at 65-75 percent quality for most photographs, which consistently produces files in the 1.5 to 2.5 MB range depending on image dimensions and content complexity.
💡 Best Practices and Troubleshooting
Always start with the highest quality source you have. Compressing an already compressed image gives worse results. If the compressed file ends up larger than the original, the source was likely already highly compressed try a different format like WebP instead. If the error message about file size appears, check that your image is under 50 MB. If the image does not load at all, the file may be corrupted or in an unsupported format. For an image compressor for discord workflow, process images one at a time but keep the same quality setting between uploads the tool preserves your selected options so each subsequent image uses the same compression level until you change it. An i love image compressor user would typically keep the quality between 70 and 80 percent for everyday use, switching to 90 percent or higher only for images where visual perfection matters more than file size.
🖥️ Privacy, Speed, and Compatibility
Because the tool runs entirely in your browser, there are no server uploads, no queue times, and no privacy concerns. The Canvas API reads the image data locally, applies the selected quality and format settings, and generates the compressed output as a binary blob. This architecture makes the tool suitable for sensitive images personal photos, client work, unreleased product shots that should never be uploaded to a third-party server. The interface works on all modern browsers including Chrome, Firefox, Safari, and Edge on both desktop and mobile devices. Touch support for the quality slider works natively on iOS and Android, making the tool fully functional on phones and tablets.
Whether you are a developer compressing assets for a faster website, a photographer delivering optimised proofs, or someone sharing image compressor for discord graphics on social media, this tool gives you complete control over image quality and file size. Load your image, adjust the quality slider, pick your output format, and download all in your browser with zero uploads. Add this image-compressor to your workflow and start shipping leaner, faster-loading images today.